







Old Stand, New Tricks: The Best Upgrades for Your Older Generation Repair Stand
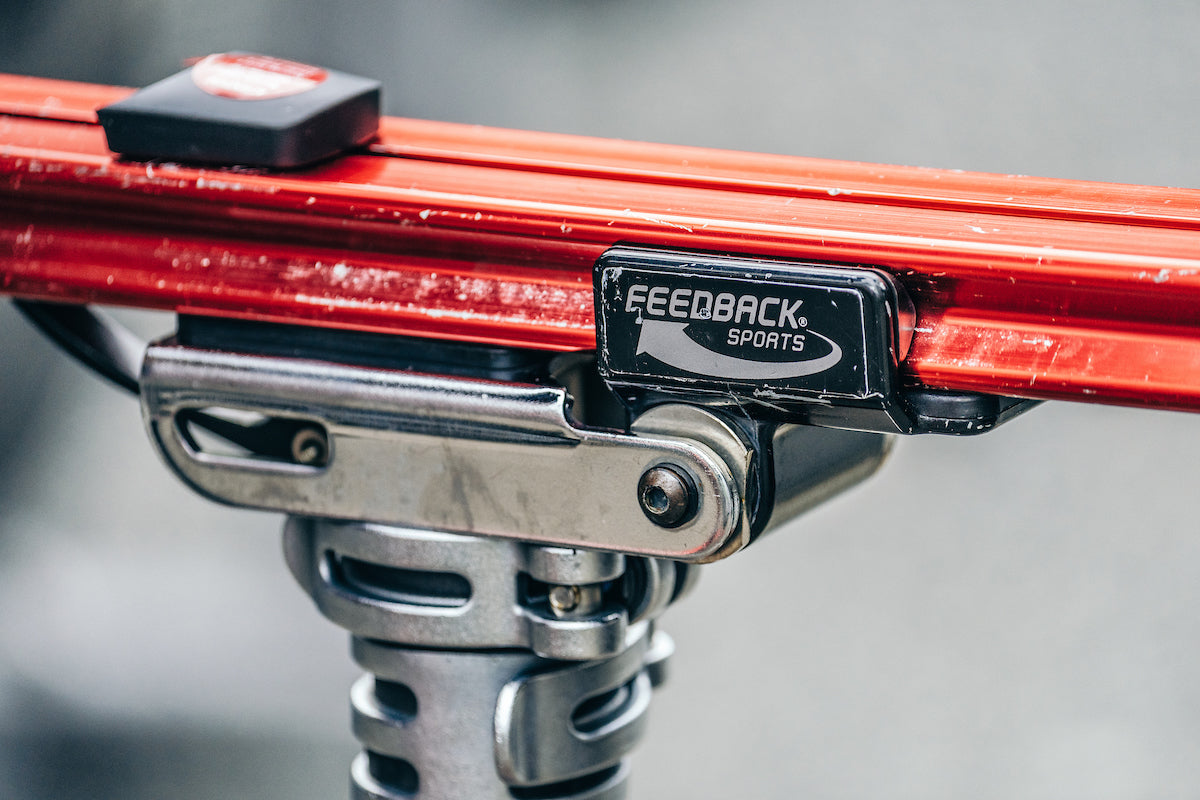
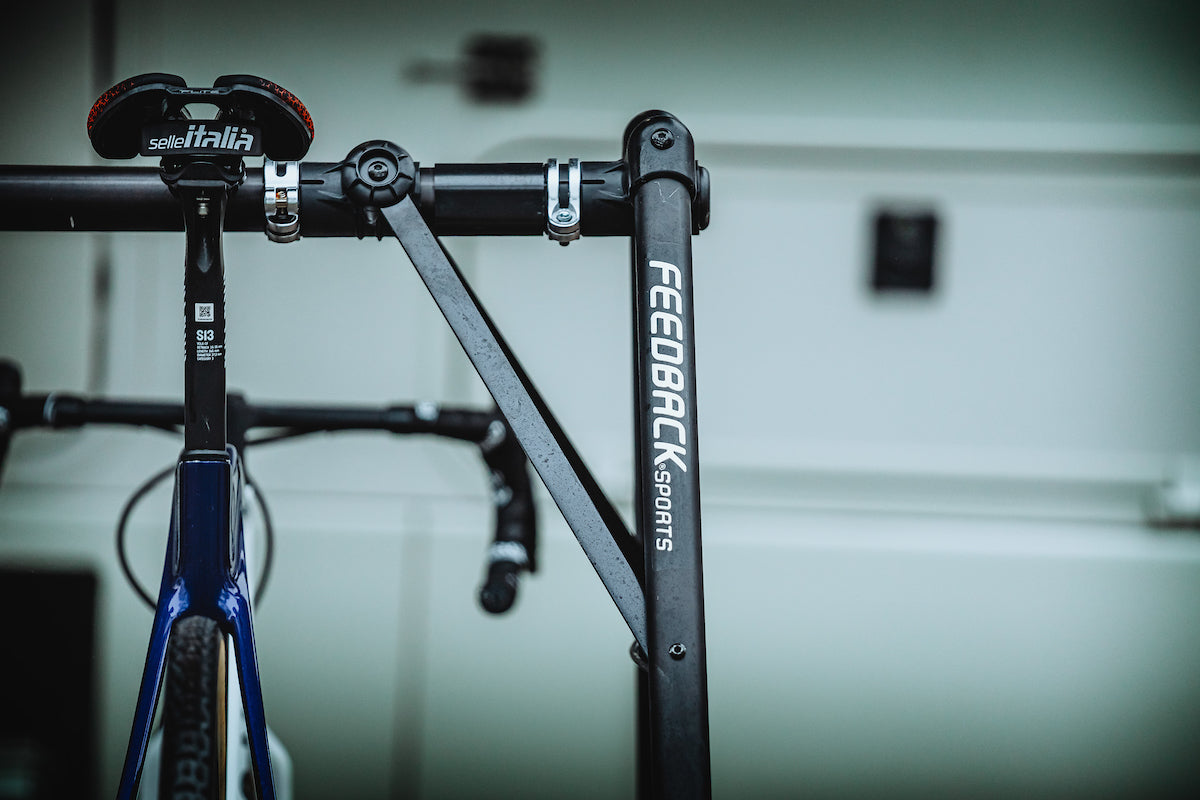
If you’ve been wrenching on bikes for a while, there’s a good chance you have an older generation Feedback Sports repair stand—like a Pro...



One of the core philosophies here at Feedback Sports is that professional-grade tools should be repairable. Our Ultralight and Pro Ultralight repair stands are engineered to spend decades traveling to races, living in the back of your car, and supporting your bikes through countless work sessions.
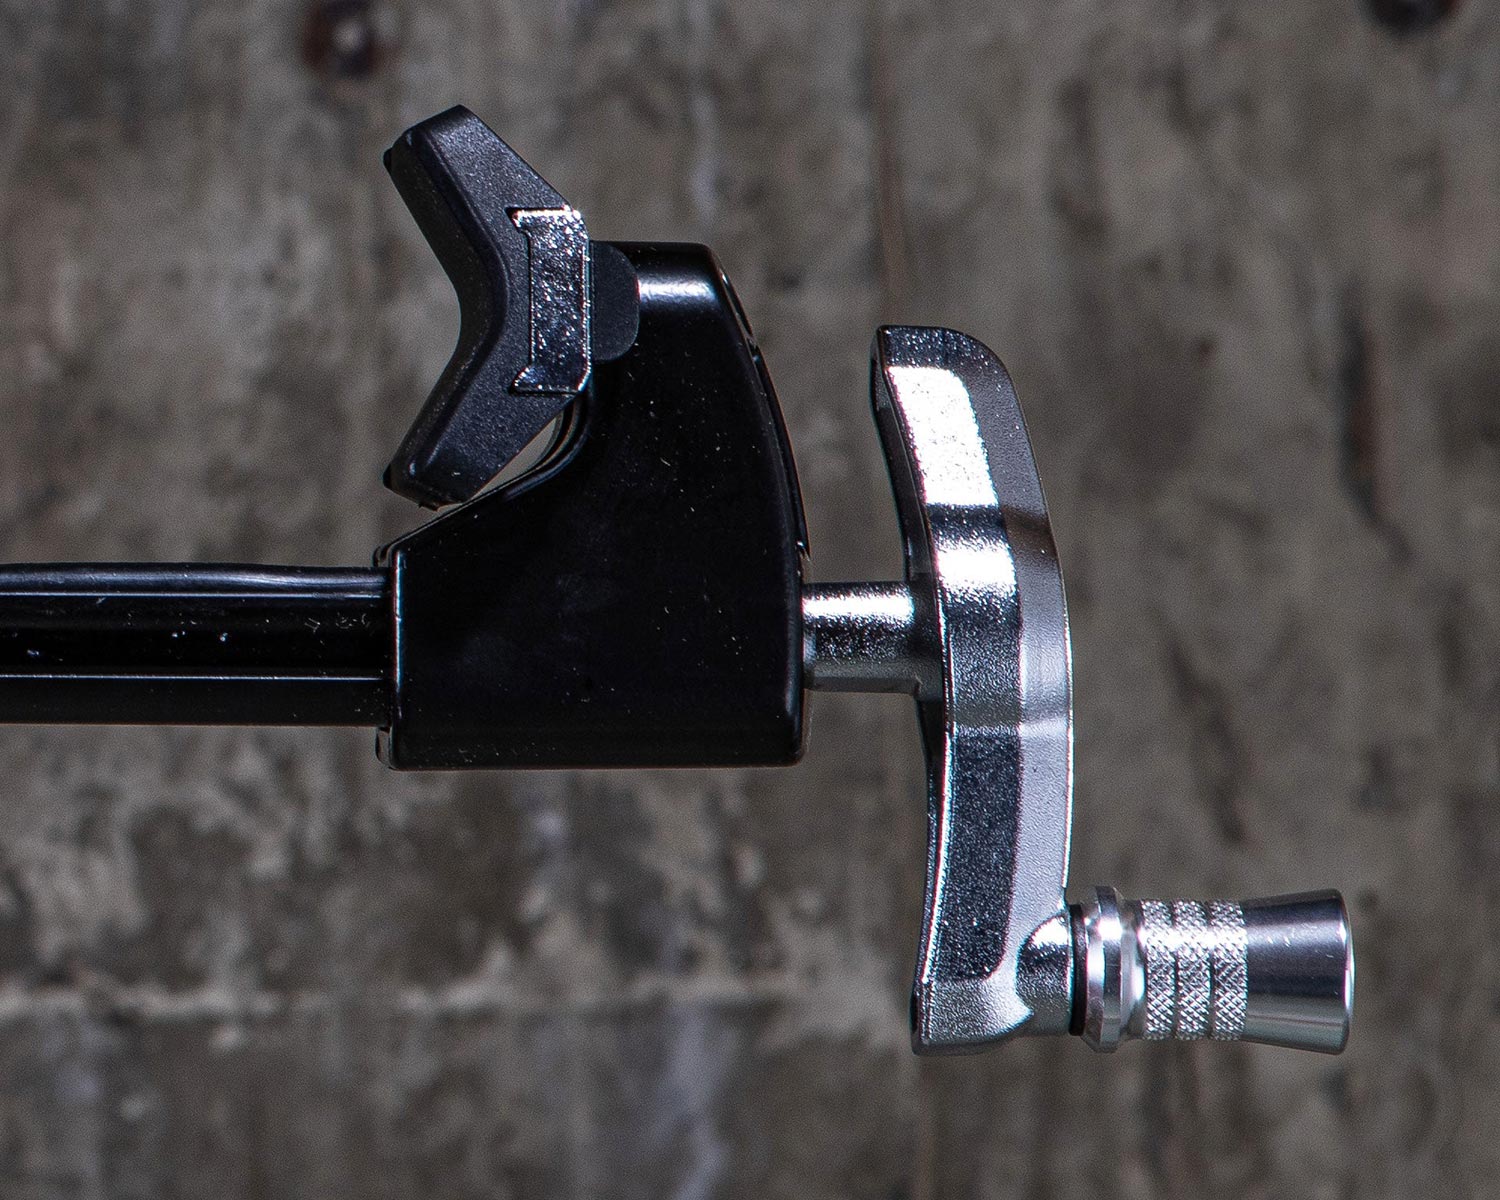
But even the toughest stands have wearable parts. If you’ve noticed your spinner knob isn't tightening as smoothly as it used to or it feels like the threads are slipping under pressure, there is a very good chance your Cam Pocket needs replacing.
You will also need to complete this repair if your brass nut and any other small threaded pieces fall out of the clamp head. Email our team (techsupport@feedbacksports.com) with questions!
The good news? You don't need to buy a whole new clamp head—or a new stand. You can replace the cam pocket in a few minutes and get your Ultralight or Pro Ultralight stand back to factory-fresh clamping power:
https://feedbacksports.com/products/sp-cam-pocket-classic-ultralight?_pos=1&_sid=155472a65&_ss=r
In our spinner-knob style clamps, the Cam Pocket is the small, unsung hero hidden inside the clamp jaw housing. When you spin the tri-knob to tighten the clamp around your seatpost, the threaded rod pulls against this exact piece. When you unthread the knob, this creates the slide lock function.
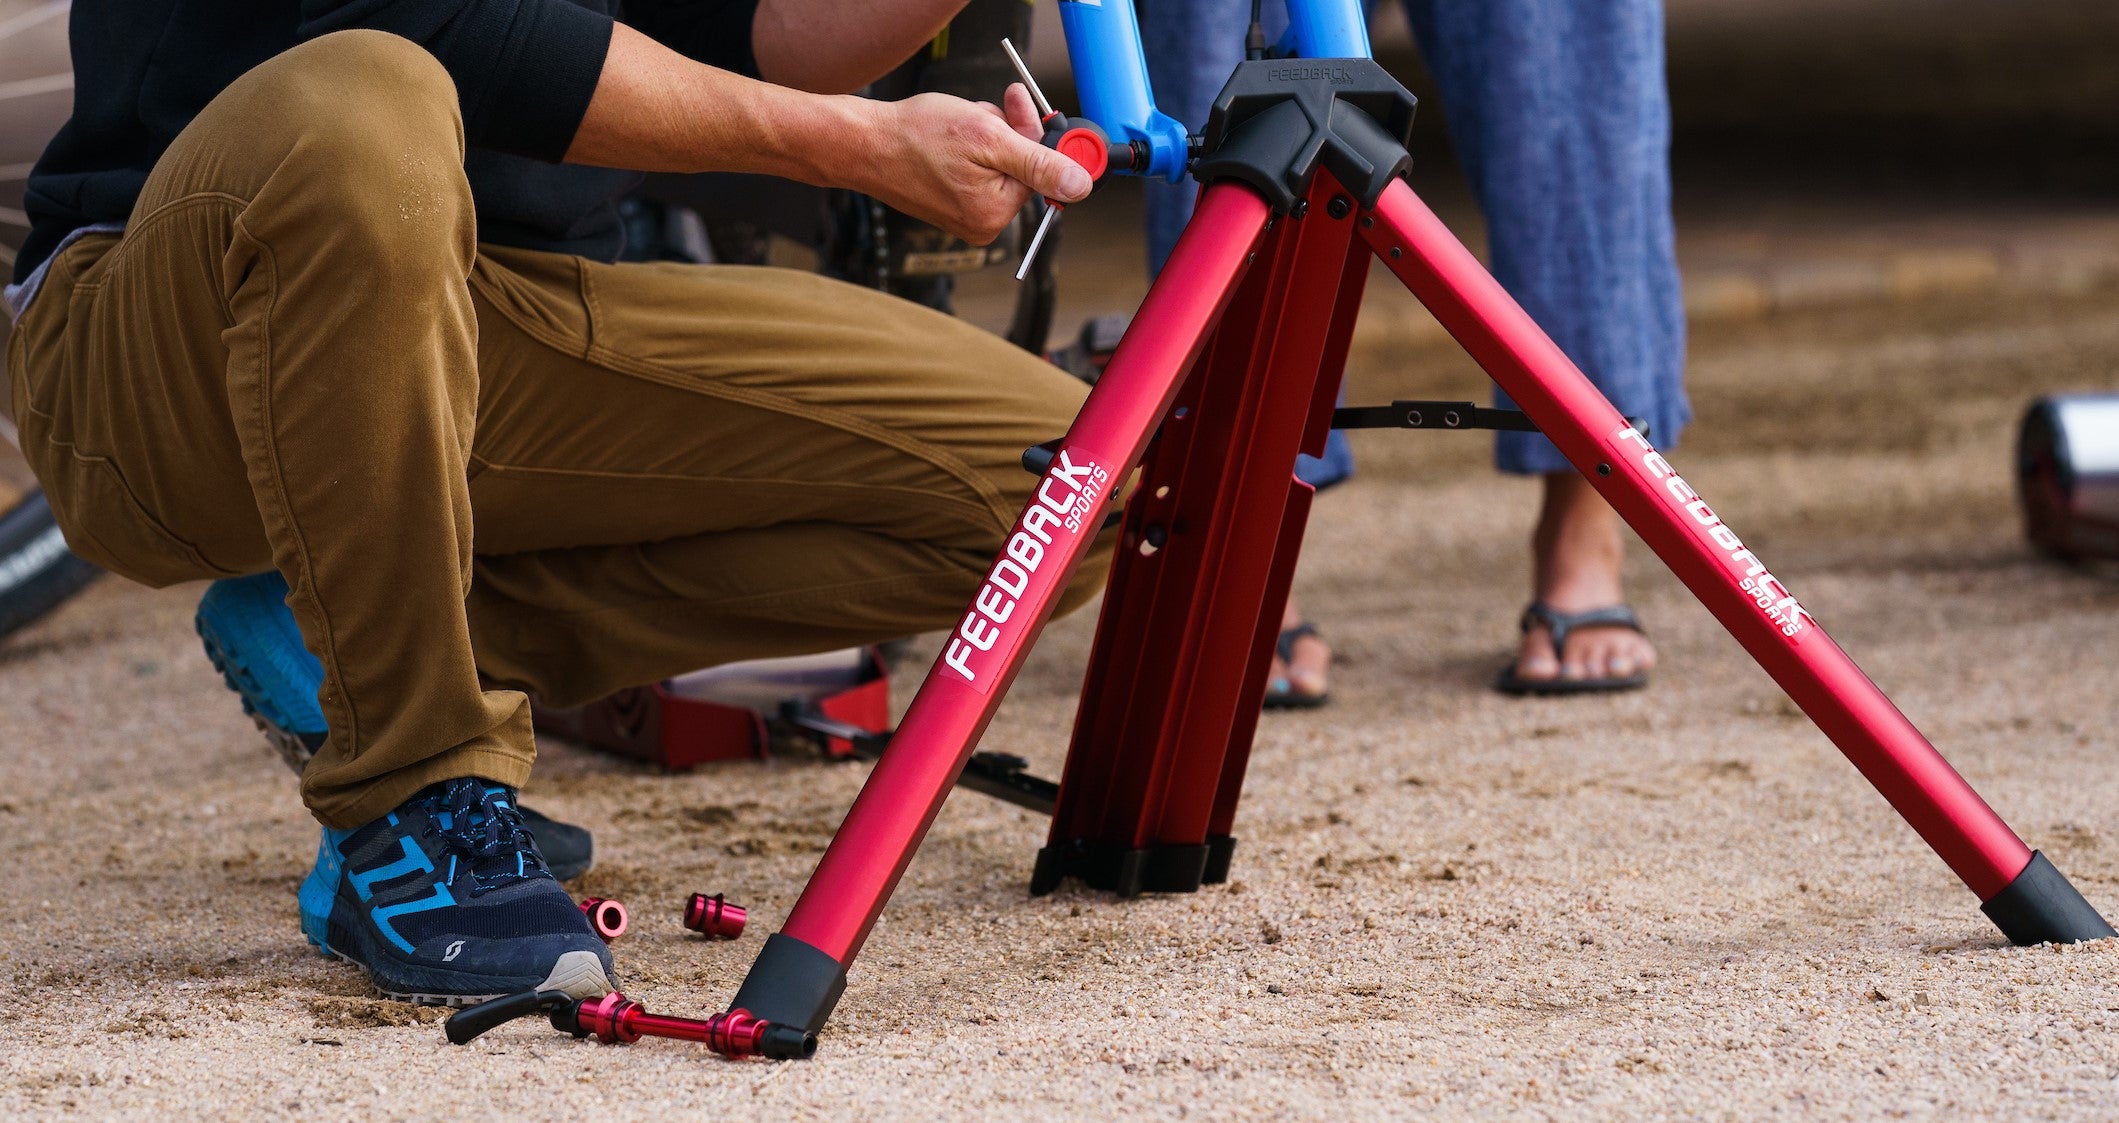
Replacing the cam pocket is a straightforward DIY repair that only requires a couple of basic tools. Here’s how to swap it out. This video is a great place to start:
https://www.youtube.com/watch?v=O266B0RB-XY
Written Instructions:

